
How to Use Polyimide Tape for Masking
Clean and dry the surface. Cut the tape to fit, lay it down without stretching, and press it into contact. Check for gaps before processing and inspect for residue after removal.
On this page
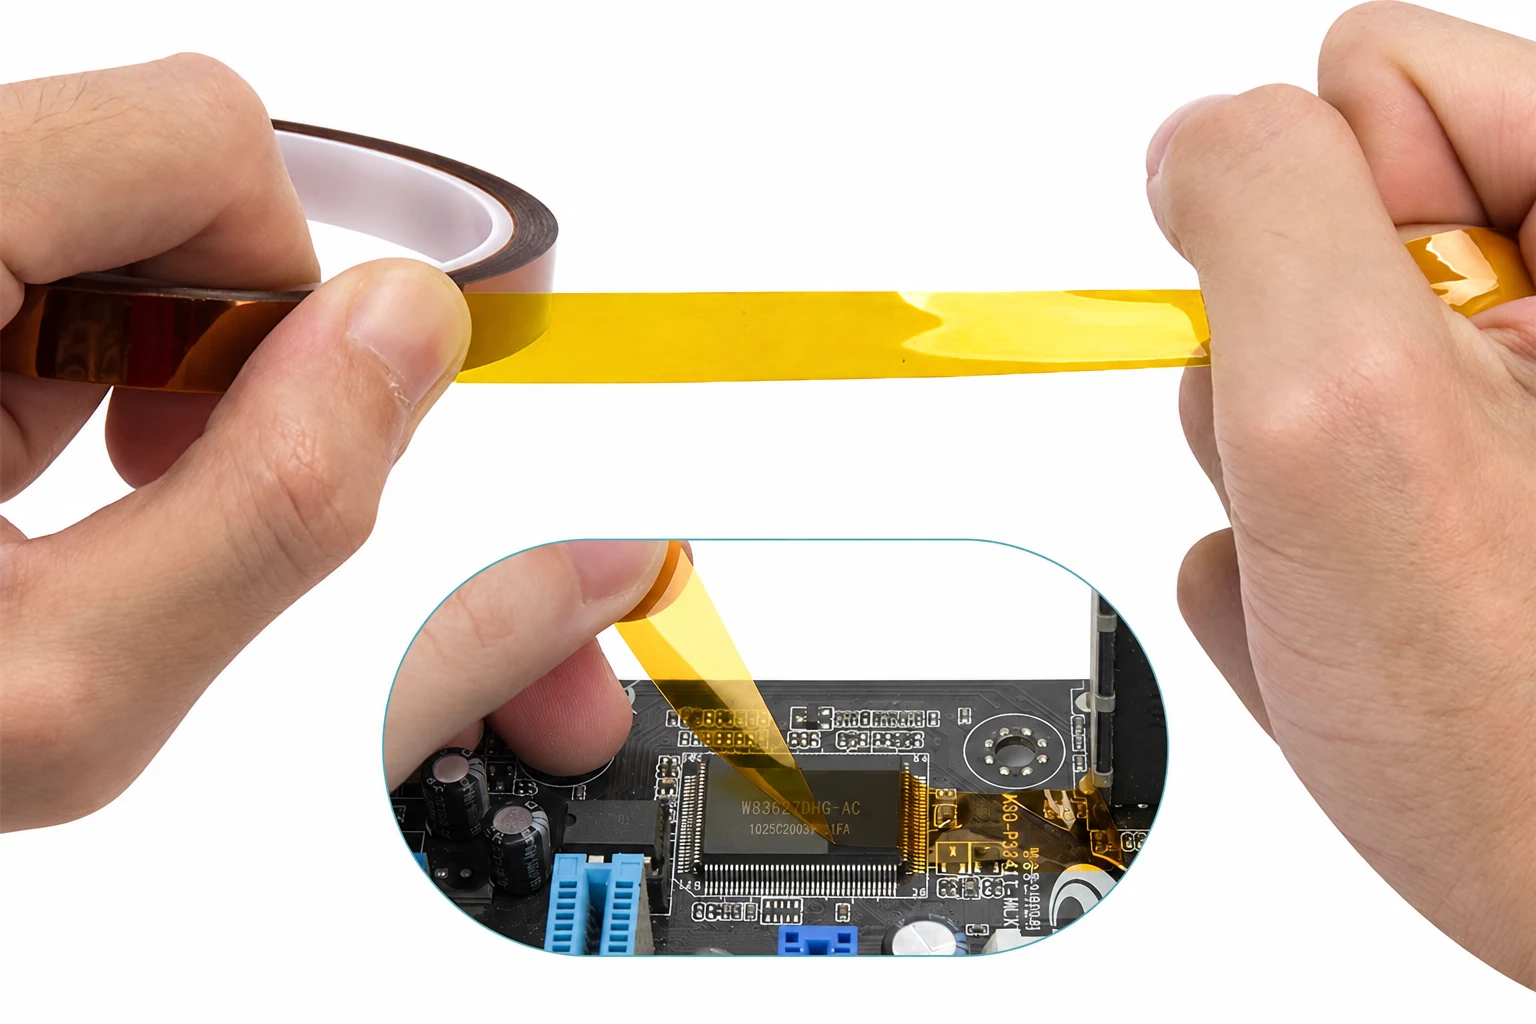
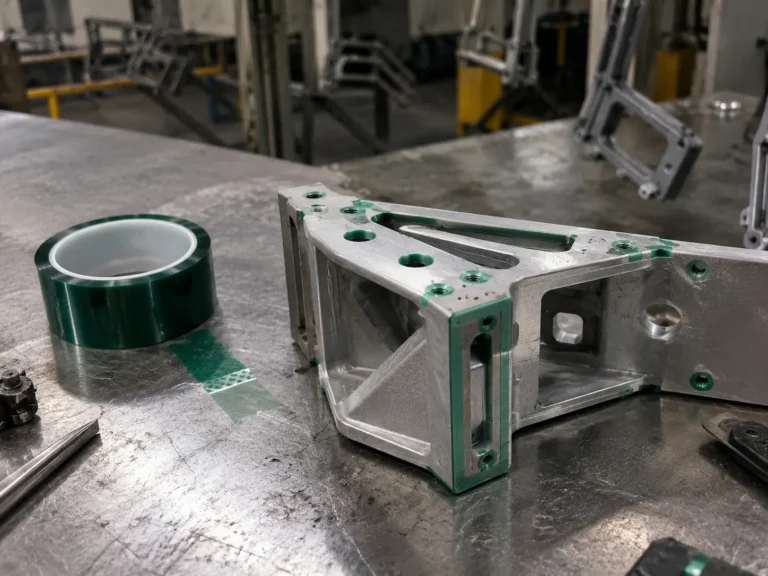
This guide covers temporary masking: using tape to keep solder or coating off selected areas of a printed circuit board (PCB) or industrial part. Tape left in place as electrical insulation needs a separate assembly specification.
Apply the tape in four steps
Start with a tape specified for your surface, temperature and exposure time. Have a compatible cleaner, a lint-free wipe, clean cutting tools and a pressing tool suited to the part ready.
-
Clean and dry the surface.
Remove dust and oil using a cleaner that will not damage the part or its finish. Let it evaporate fully before applying tape. Do not tape over moisture or condensation. -
Cut to fit the area you need to protect.
Leave solder pads, holes or coating areas exposed where the process requires access. Cut the tape before placing it; avoid using a blade directly on a circuit board or finished surface. -
Position it without stretching.
Align one edge, then lay the strip down progressively. Avoid touching the adhesive. Replace pieces that are dirty or incorrectly positioned instead of pulling them tight to make them fit. -
Press across the whole contact area.
Use a clean roller or suitable tool, including along edges and joints. Support delicate parts underneath. Replace pieces with wrinkles or air pockets that prevent contact; do not force a tool against fragile components.
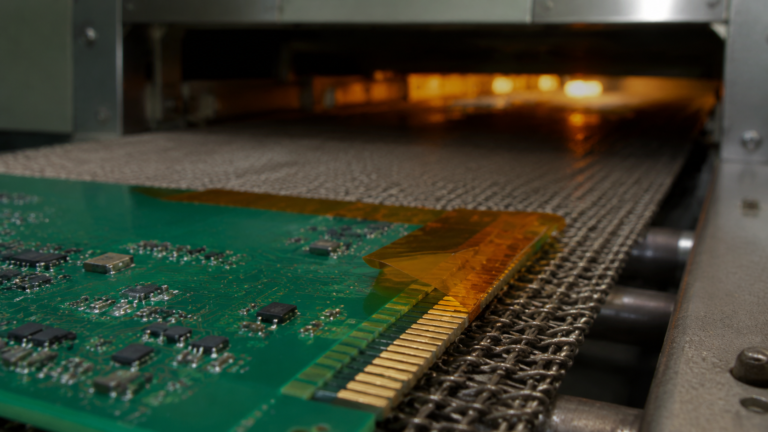
Example: protecting PCB edge contacts
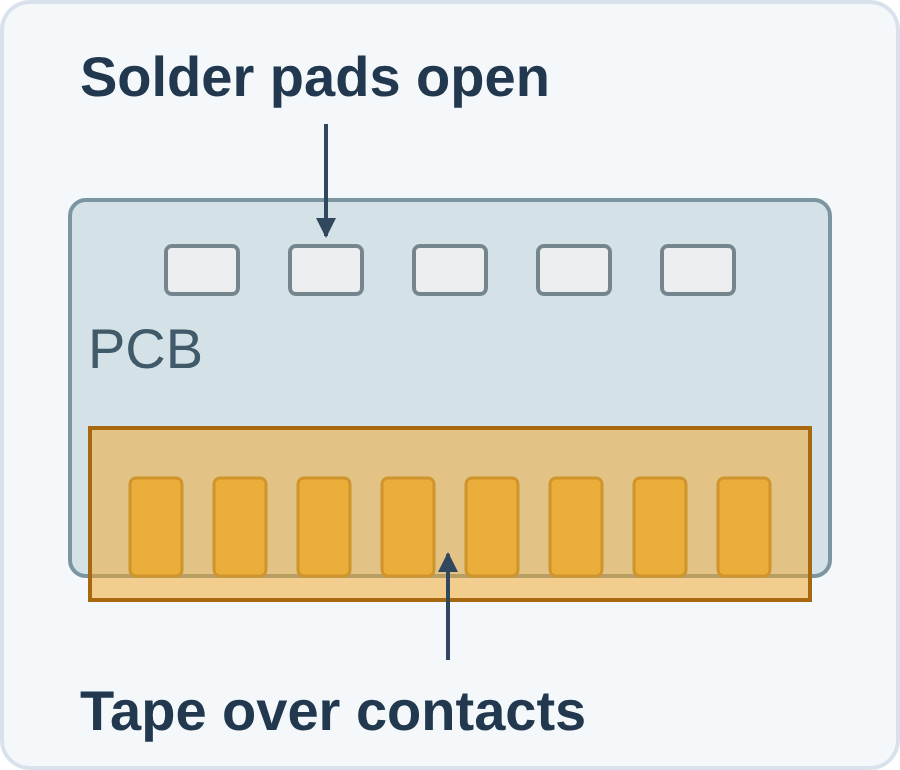
Clean, dry surfaces and firm contact are basic requirements for pressure-sensitive tape. tesa’s processing guide explains these principles; it does not set a universal pressing force for delicate assemblies.
Check the edges before processing
Follow the tape’s perimeter with your eyes. Look for lifted corners, wrinkles and gaps, especially where the part changes height. Tape can stick at both ends yet leave an open passage underneath.
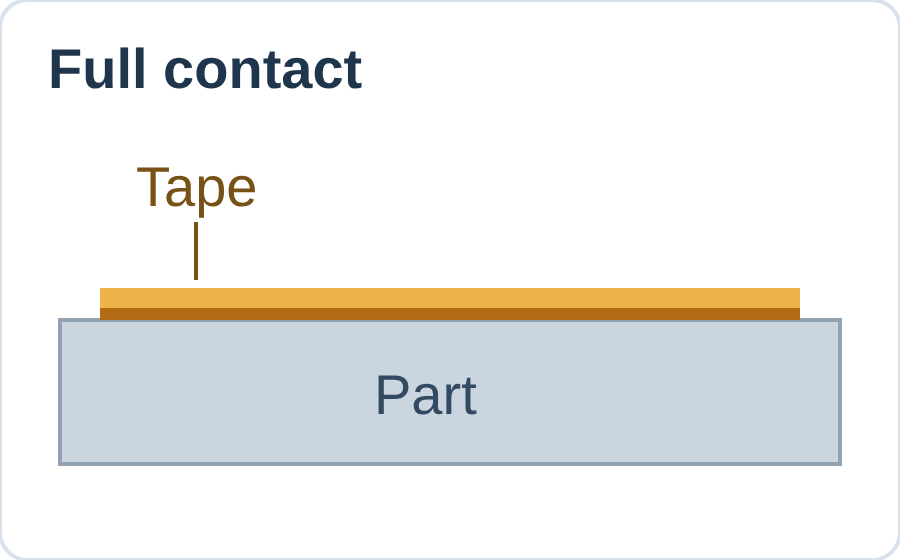
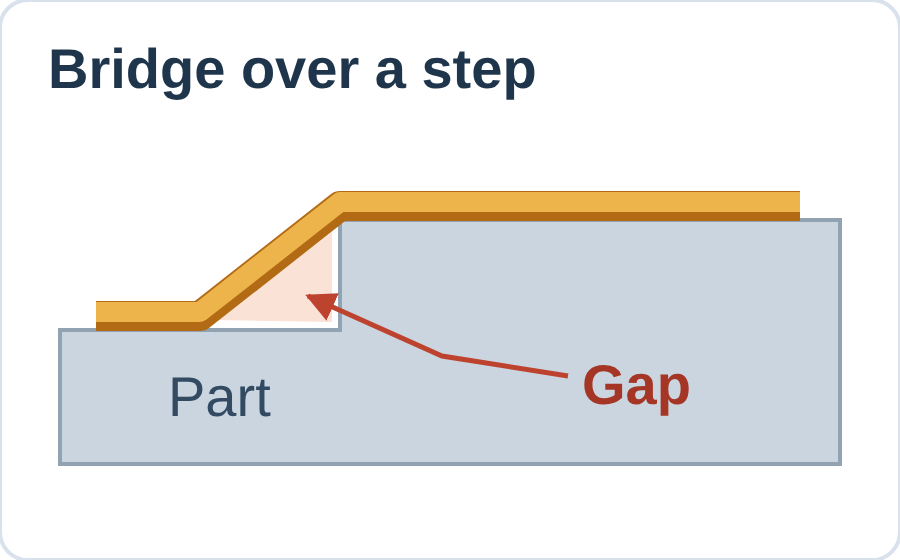
If you find a gap, rework the mask before heating or coating. A narrow strip or pre-cut shape may fit better. Test any necessary seam in the actual process; extra overlap alone does not prove it will seal.
Check the temperature at the taped part and how long it stays hot, including repeated cycles. Follow any specified wait before processing. The tape’s heat rating does not mean a covered component is protected from overheating.
Remove the tape and check the result
-
Use a tested removal temperature and delay. Follow your work instruction. If none exists, compare removal conditions on spare parts with the same material and finish before using finished production parts. Do not assume warmer removal is always better.
-
Support the part and peel steadily. Start at an accessible edge. Avoid jerking the tape or pulling against unsupported components. Stop if the tape tears, adhesive transfers or the surface finish begins to lift.
-
Inspect the tape and the uncovered area. Look for fragments, sticky patches, discoloration and surface damage. Check the coating boundary where relevant. Later bonding or coating may require cleanliness checks beyond visual inspection.
Residue left behind? First check the assembly’s approved cleaning method. Test the cleaner on a spare sample before using it on the finished part; stronger solvent can also damage the surface you are trying to clean.
Fix lifting, leakage or residue
Start with when the defect appears. These checks help narrow the cause; appearance alone cannot identify it. In each trial, change one factor so you can tell what helped.
- Edges lift before heating
-
Check for dust, oil, moisture or a strip pulled tight. Try a fresh piece on a cleaned, dry sample, laid without stretching and pressed across its full area.
- Bubbles or lifting appear after heating
-
Record when they start, the part temperature and the heating time. Compare these with the tape’s limits. If exposure is within limits, investigate trapped moisture, poor contact and changes in surface height.
- Solder or coating gets under the tape
-
Look for the entry point at a corner, seam or step. Check that the tape covers the right boundary. Correct the fit or edge contact, then repeat the process on a sample.
- Adhesive remains after peeling
-
Check total heat exposure and the delay before removal. Keep the tape and heating unchanged while testing a different permitted delay before peeling. If residue persists, evaluate another tape product.
- Tape tears or pulls off the finish
-
Stop before damaging more finished parts. Check whether the tape was nicked during cutting, whether heat affected it, and whether the finish can tolerate removal. Test changes on a spare sample.
Check that the tape suits the job
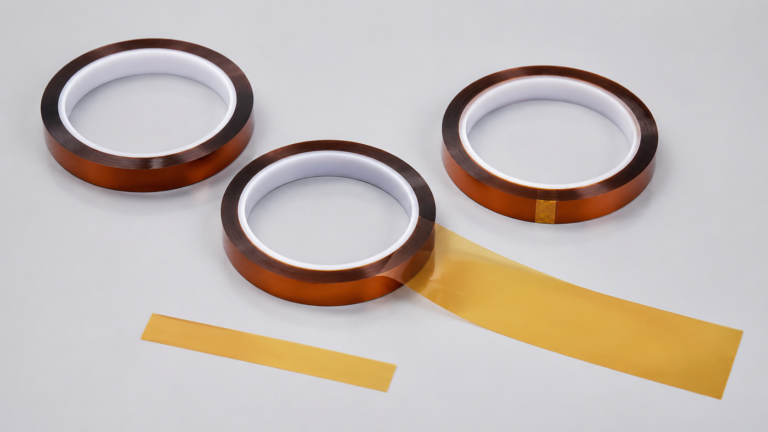
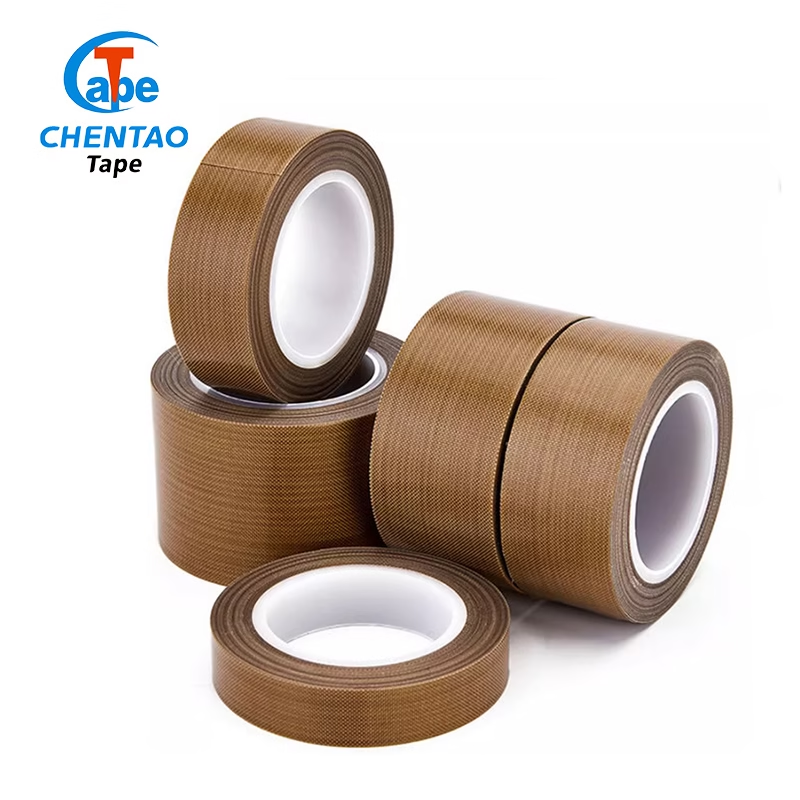
“Polyimide” describes the backing film, not the entire adhesive system. Check the exact product code and data sheet. Two amber tapes can have different uses and removal behavior.
- Temperature and time: match both to the actual process, including repeated heating. A maximum temperature alone is not enough.
- Surface and removal: test on your finish. For example, 3M 5413’s clean-removal assessment uses copper; that does not establish performance on your coating.
- Later bonding or coating: check any restrictions on silicone adhesive before choosing the tape.
- Static-sensitive electronics: specify electrostatic discharge (ESD) requirements; low-static tapes have separate product specifications.
These manufacturer examples explain what to check. They are not performance claims for CT Tape products.
Test a sample before a production order
Use the same part material and finish, and run the complete process through removal and the next operation. A quick room-temperature peel cannot show what happens after soldering or a bake.
Record the tape code and lot, width or shape, cleaning method, temperature and time, and removal conditions. A useful trial shows that:
- The required area stays protected.
- The tape stays in place through the process.
- Removal leaves the surface suitable for its next use.
To discuss CT Tape polyimide tape, share the part material, area to protect, temperature and duration, tape width or shape, and expected quantity.
For a defect, add a photo and say when it appears. Start with what you know; a complete specification is not required for the first discussion.
Find the right tape for your application
Tell us what you need to bond, your operating conditions and the size or quantity you have in mind. Our team can help with material selection, samples and a quotation.
Discuss my application