How to Use Polyimide Tape: The Complete Industrial Application Guide
A practical guide on how to use polyimide tape for industrial shielding and insulation. The content includes surface treatment, pressure application, and residue removal techniques.
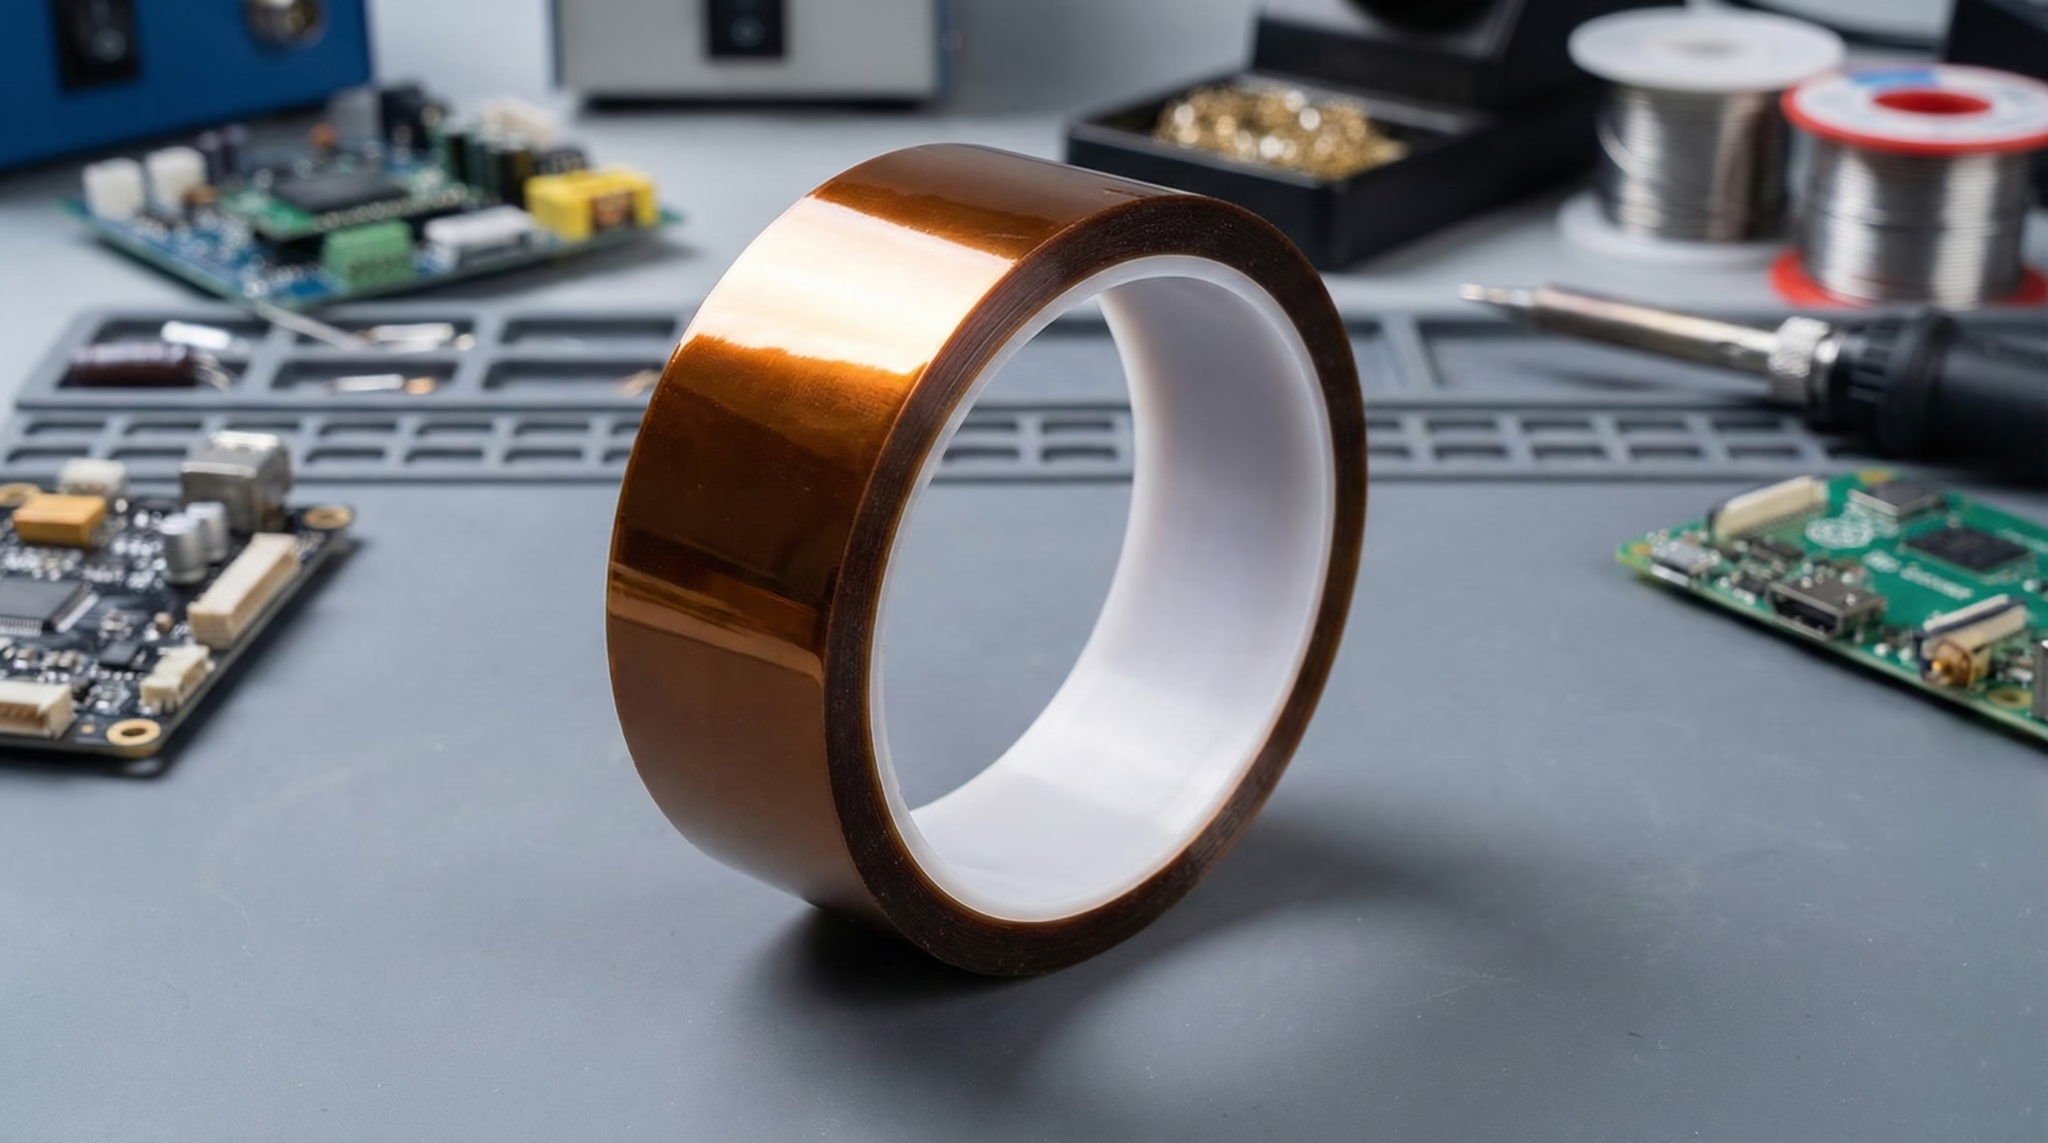
Knowing how to use polyimide tape correctly provides critical thermal and electrical insulation in demanding industrial environments, from wave soldering to powder coating. Proper application determines whether the tape maintains adhesion under stress or fails, leading to costly rework.
Quick Answer (TL;DR)
Operational Summary:
- Clean thoroughly: Adhesion relies on surface energy; remove all oils and dust with Isopropyl Alcohol (IPA).
- Apply pressure: Silicone adhesives are pressure-sensitive. Use a squeegee or firm rub-down to wet out the adhesive.
- Avoid stretching: Lay the tape flat to prevent elastic memory pullback during heating.
- Peel correctly: Remove tape at a sharp angle (135°–180°) once the part cools to a safe handling temperature.
About This Guide (Scope & Verification)
Scope: This guide applies to industrial polyimide film pressure-sensitive tape used for masking and insulation. Performance varies by adhesive system (silicone vs. acrylic) and film thickness.
How to verify: Consult your specific product datasheet to confirm temperature ratings, dielectric strength (often cited in kV), and adhesion to steel values. Do not assume generic specifications apply to all brands.
Last updated: 2025-12-25
Reviewed by: Applications Engineering
Critical Pre-Application Steps: Surface Preparation
Cleaning Protocols for PCBs and Metal Substrates
Silicone adhesives require a high-energy surface to bond effectively. Wipe the substrate with a lint-free cloth dampened with Isopropyl Alcohol (IPA). Ensure the solvent evaporates completely before tape application. For critical manufacturing, verify that no cleaning residues remain.
Temperature Acclimatization Before Application
Apply tape at room temperature whenever possible. If the tape roll has been stored in a cold warehouse, allow it to acclimatize to the production floor temperature for at least 24 hours. Applying cold tape to a warm surface (or vice versa) can cause condensation, which blocks adhesion.
Checking for Contaminants (Oils, Dust, Oxides)
Inspect the surface for oils, fingerprints, or heavy oxidation. Even minor oil contamination from handling can create a barrier between the adhesive and the substrate, leading to lifting during thermal cycles.
How to Use Polyimide Tape: Step-by-Step Application Techniques

Scenario A: Masking Gold Fingers for Wave Soldering
Align the tape edge precisely with the demarcation line of the gold fingers. Apply the tape flat without stretching it. Ensure the leading edge is firmly bonded to prevent solder from seeping underneath during the wave process.
Scenario B: Wrapping Wires for Electrical Insulation
When wrapping cables or motor coils, use a 50% overlap to ensure continuous dielectric protection. Maintain constant tension to avoid wrinkles, but do not overstretch the film, as this reduces the dielectric thickness.
Applying Pressure to Activate Silicone Adhesive
Polyimide tapes typically use pressure-sensitive adhesives (PSA). Simply laying the tape down is insufficient. Use a rubber roller or a squeegee to apply firm, even pressure across the entire tape surface. This “wets out” the adhesive, maximizing contact area and bond strength.
Managing Overlap and Edges to Prevent Seepage
Press down firmly on all edges and overlap points. In liquid processes like conformal coating or soldering, capillary action can draw fluids under loose edges. A final rub-down of the perimeter is essential for a sealed mask.
Removal & Post-Process Best Practices

Timing the Removal (Hot vs. Cold Peeling)
A key part of understanding how to use polyimide tape is knowing exactly when to remove it. Remove the tape once the component has cooled enough to handle safely but is not yet fully cold. Removing tape from a warm surface often yields cleaner results than a cold peel.
Proper Peel Angle to Avoid Residue
Peel the tape back against itself at an angle between 135° and 180°. Avoid pulling strictly perpendicular (90°) to the surface, as this increases the stress on the adhesive-substrate bond and may cause residue transfer.
Inspecting for Adhesive Transfer
Inspect the masked area immediately after removal. If silicone residue remains, it may interfere with subsequent steps like wire bonding or coating.
Safety Note: Cleaning stubborn residue may require solvents like toluene or xylene. Always review the Safety Data Sheet (SDS), ensure proper ventilation, and wear appropriate PPE. Test the solvent on a non-critical area to ensure it does not damage the substrate.
Failure Modes & Troubleshooting
Tape Lifting During Reflow or Baking
When learning how to use polyimide tape, remember that lifting usually indicates poor surface preparation or insufficient application pressure. Ensure the surface is oil-free and that the adhesive was fully activated via pressure before the thermal cycle began.
Adhesive Residue Left on Substrate
Residue can result from exceeding the tape’s temperature rating or leaving the tape on for extended periods after the process. Verify that the tape grade matches the process temperature (e.g., ensure the tape is rated for the specific solder bath temperature).
Tearing or Ghosting on Removal
Tearing often occurs if the tape is removed too quickly or if the film has become brittle from excessive heat exposure. Use a steady, slow motion during removal. If ghosting occurs, check for chemical incompatibility with the substrate.
Selection & Verification Decision Matrix
Use this table to verify that the polyimide tape selected is appropriate for your specific application requirements.
| Selection Criteria | How to Verify | Failure Risk |
|---|---|---|
| Adhesive System | Consult datasheet (Silicone vs. Acrylic). | Acrylic may leave residue or fail at soldering temperatures. |
| Total Thickness | Measure with micrometer; check mil/mm spec. | Insufficient dielectric strength or fitment issues in tight assemblies. |
| Temperature Rating | Verify continuous vs. short-term limits in TDS. | Melting, lifting, or brittleness during reflow or powder coating. |
| ESD Properties | Test surface resistance (Ohms/sq) if required. | Electrostatic discharge damaging sensitive electronic components. |
| Slit Width Accuracy | Measure with digital calipers. | Solder seepage (too narrow) or pad obstruction (too wide). |
Implementation & Validation Checklist
Pre-Process Verification (Surface, Specs)
- Is the correct tape width and thickness selected?
- Is the surface cleaned with IPA and fully dry?
- Is the tape within its shelf life?
Application Quality Gate (Pressure, Alignment)
- Has firm pressure been applied to the entire tape surface?
- Are edges sealed to prevent under-seepage?
- Is the tape free of air bubbles and wrinkles?
Post-Process Inspection Criteria
- Did the tape remain adhered throughout the thermal cycle?
- Is the masked area free of solder or coating ingress?
- Was removal clean with no adhesive residue?
RFQ / Supplier Readiness Checklist
When requesting a quote or qualifying a new supplier for polyimide tape, ensure all critical parameters are defined to avoid quality issues.
Group 1: Material Specifications
- [ ] Adhesive Type: Confirm Silicone (standard high-temp) or Acrylic.
- [ ] Total Thickness: Specify total thickness (film + adhesive) in mils or mm.
- [ ] Temperature Resistance: Request confirmation of short-term vs. continuous rating.
- [ ] Dielectric Strength: Ensure voltage breakdown rating meets application needs.
Group 2: Dimensions & Format
- [ ] Roll Width: Define exact width and tolerance (e.g., +/- 0.1mm).
- [ ] Roll Length: Confirm standard length (e.g., 33m) or custom length.
- [ ] Core Size: Specify core diameter (usually 3 inch / 76mm) for dispensers.
Group 3: Quality & Compliance
- [ ] Certifications: Request UL flammability ratings or RoHS/REACH compliance.
- [ ] Shelf Life: Confirm remaining shelf life upon delivery.
- [ ] ESD Treatment: Specify if anti-static properties are required.
Group 4: Logistics & Service
- [ ] MOQ: Clarify Minimum Order Quantity for custom slits.
- [ ] Lead Time: Confirm production lead time vs. stock availability.
Questions to Ask a Supplier
Ask these questions to vet the technical capability of your tape distributor or manufacturer.
- What is the shelf life of this tape, and what are the recommended storage conditions?
- Is the adhesive system silicone-based or acrylic-based?
- Can you provide a Technical Data Sheet (TDS) confirming the dielectric strength and adhesion to steel?
- What is the maximum short-term temperature exposure this tape can withstand without lifting?
- Do you offer anti-static (ESD) treated versions of this polyimide tape?
- What is the standard slitting tolerance for custom widths?
- Does the tape leave residue if removed after a standard reflow cycle?
- Are samples available for adhesion testing on our specific substrate?
- What are the recommended surface preparation steps for this specific adhesive?
- Is this material UL-listed or compliant with specific industry standards like MIL-SPEC?
External References
- What is the difference between Kapton tape and polyimide tape?
- Polyimide Tape Application Tips and Solutions
- Polyimide-Silicone Tapes Overview
- How to Choose the Right Polyimide Tape: A Technical Buyer’s Guide
Frequently Asked Questions
Does polyimide tape need heat to cure?
No. Standard polyimide tapes use pressure-sensitive adhesive (PSA). They bond upon contact and firm pressure. Heat is not required to activate the bond, although the bond strength typically increases over time.
Can I reuse polyimide tape after removal?
No. The polyimide film may stretch, and the adhesive layer deforms upon removal, compromising the dielectric strength and masking integrity. Always use fresh tape for each cycle.
What is the difference between standard and anti-static application?
Standard polyimide generates static electricity during unwinding and removal. For ESD-sensitive electronics, use anti-static polyimide tape treated to minimize electrostatic discharge. View our ESD tape options for details.
How long can polyimide tape stay on before removal?
Remove the tape as soon as the process allows. Leaving tape on for days or weeks increases the risk of adhesive set, making removal difficult and increasing the likelihood of residue transfer. Contact us via our support page for specific dwell time recommendations.
Need a tape solution for your project?
Share your application, drawings and target price. Our engineering team will recommend suitable tape structures and send you a quote within 24 hours.
Get a Custom Tape Recommendation

